


Pro Insight learning mode
New to Pro Insight? Learning Mode is the easiest way to proactively familiarize yourself with the platform.
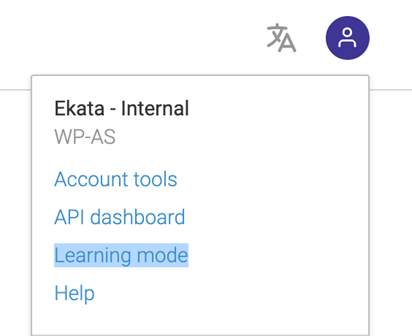
This self-guided product tour can be initiated from the dropdown menu by clicking on your profile icon in the upper right corner of Pro Insight. You will see a link called “Learning mode” – click it to turn on learning mode.
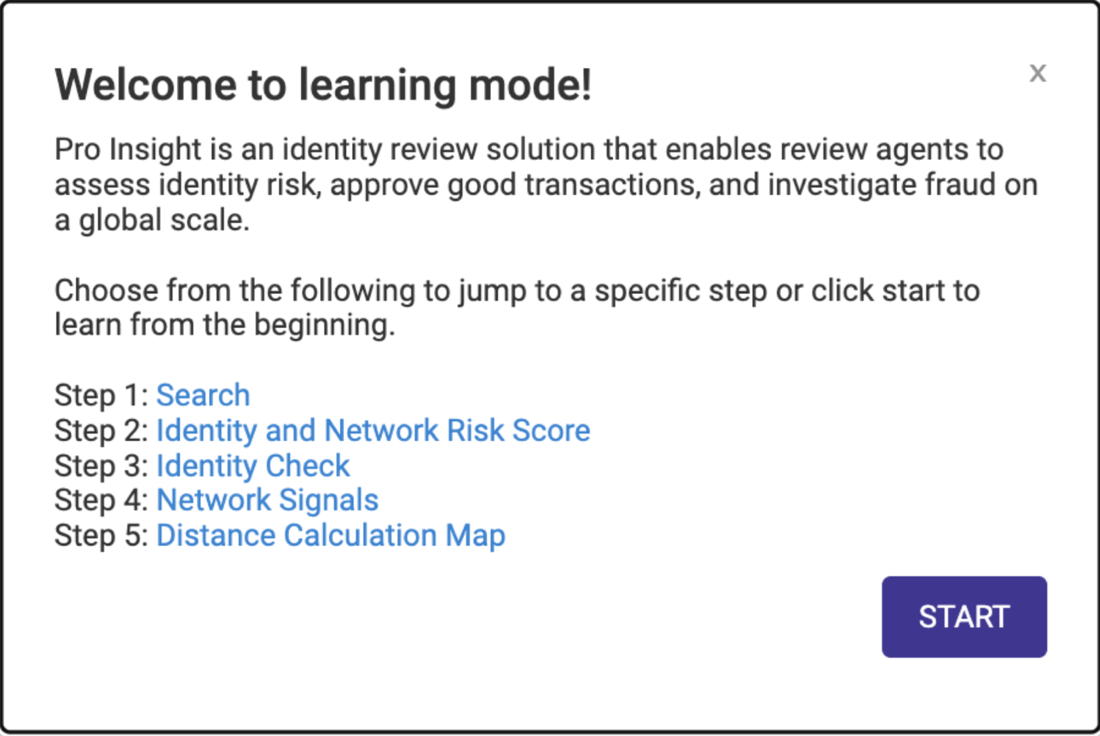
The next screen you will see is an overview of the tour. Click START to begin with Step 1, or feel free to jump around to any step that interests you. You can exit Learning mode at any time to return to the overview screen, or continue what you were doing.
Step 1: Search
Every manual review on Pro Insight starts with a search. Once you have entered the identity details into the fields above, you can perform a search.
Start your review with key identity information such as Name, Email, Phone, and Address. Click Review to get an Identity Risk Score and detailed risk insights.
Step 2: Identity Risk Score and Network Risk Score
Identity Risk Score
Get a quick first view of a transaction with our Identity Risk Score powered by real-time global data, machine learning, and network insights. You can also see the top positive and negative signals that contributed to the score.
The Identity Risk Score is a measurement of risk on a 0-500 scale that is derived using authoritative data from the Ekata Identity Graph and behavioral elements in the Ekata Identity Network. The lower the risk score, the lower likelihood that the transaction is fraudulent.
Network Risk Score
Derived from the Ekata Identity Network, the Network Risk is a machine learning prediction (low, medium, high) that provides insight into how risky a digital interaction is based on a consumer’s activity patterns.
TIP: Click on HIGH to highlight the strongest signals contributing to it.
Top positive and negative signals (aka reason codes)
See which positive signals had the most impact on the risk score. The signals are weighted by impact and listed in order of importance.
Step 3: Identity Check
Check for matches of basic identity information such as phone, address, email and IP. Confirmed identity elements display a blue checkmark, while invalid or mismatched identity information are flagged with an orange exclamation mark.
Phone panel
Get an overview of phone information such as subscriber name, line type, and carrier. Explore additional details by clicking “View phone details”.
Primary and secondary address panel
Sometimes, the primary address and secondary address for an identity differ. For example, when billing and shipping addresses are different.
Click “View address details” to see information like historical residents and people associated with the current resident.
Step 4: Network Signals
Network Signals provides a score of an identity’s risk level and surfaces predictive signals that indicate positive or negative behavior across that identity’s transaction history within the Ekata Identity Network.
They provide dynamic context to the Network Risk score by showing how identity elements interact with each other and allowing manual review agents to see patterns over time.
Network Pair Signals
Network Pair Signals highlight key network insights between identity elements like phone, email, and address.
Step 5: Distance Calculation Map
Use the interactive map for a visual picture of the distances between inputs such as IP and shipping and/or billing addresses. View the distances between different identity elements and see how they are co-located.
When an element is selected in blue, the corresponding icon in the map will also be highlighted in blue. All other elements will then be measured from the selected element.
Congratulations! You have now completed learning mode. Still have questions? Reach out to support@ekata.com